Самое актуальное и обсуждаемое


Популярное
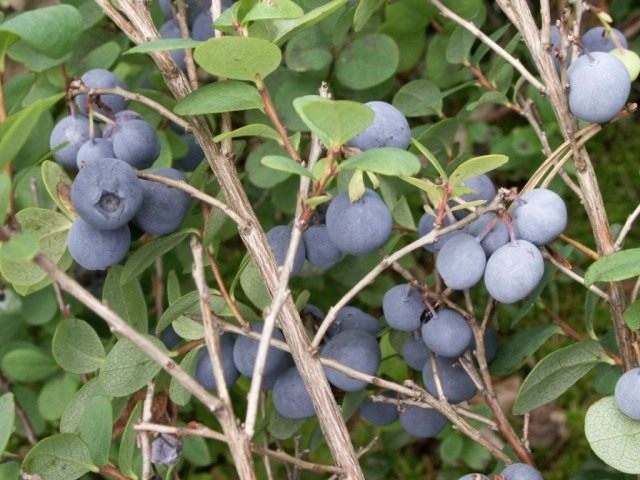
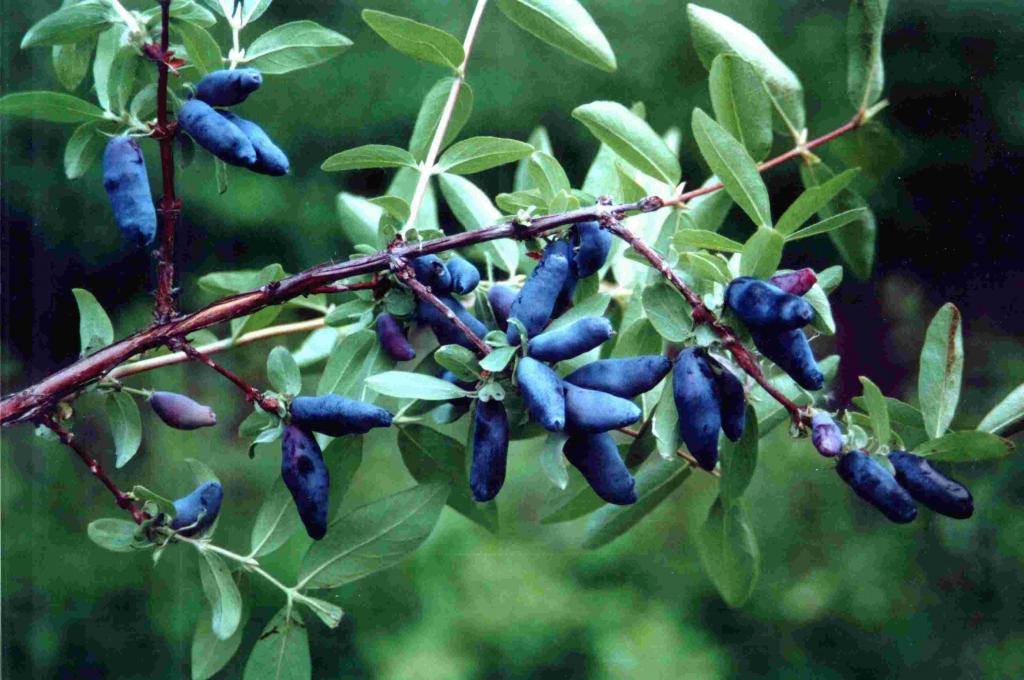
50 лучших сортов садовой голубики с описанием и характеристиками
Внесение удобрений
Голубике, как и любому плодоносному растению, необходима подкормка. Лучшим периодом...
192
0
0
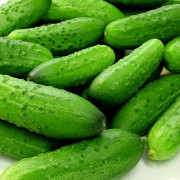
11 лучших сортов кабачков
Выращивание
Огородники, которые решили посадить на своем участке цукини, должны знать о двух способах...
230
0
0
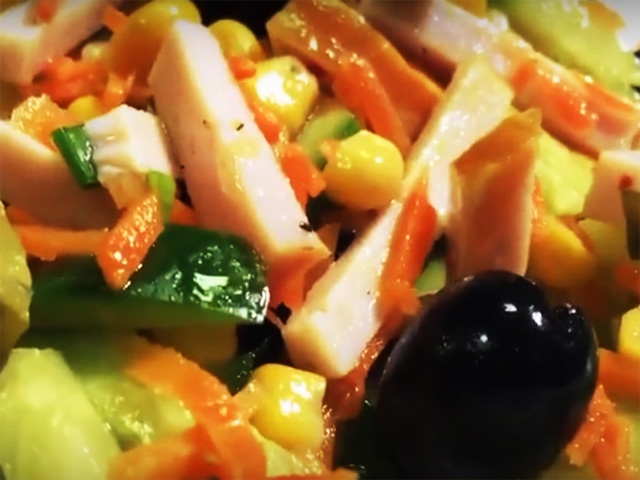
10 сытных салатов с ветчиной, которые хочется съесть немедленно
Пошаговый рецепт салата с ветчиной и сладким болгарским перцем с фото
Этот салат очень хорошо подходит ...
93
0
0
12 секретов выращивания филодендронов
Особенности посадки и пересадки
Для тропической лианы требуется легкий субстрат – водо- и воздухопроницаемый....
224
0
0

10 идей быстрых осенних поделок в школу и детский сад
Грибочки
Вы уже загрузили голову, чем бы еще удивить видавших виды воспитателей детского сада, которые...
75
0
0

5 лечебных рецептов с лаврушкой. польза и вред лаврового листа для здоровья
Немного фактов
Проблемы с позвоночником и суставами могут возникнуть в любом возрасте. Костный скелет...
99
0
0
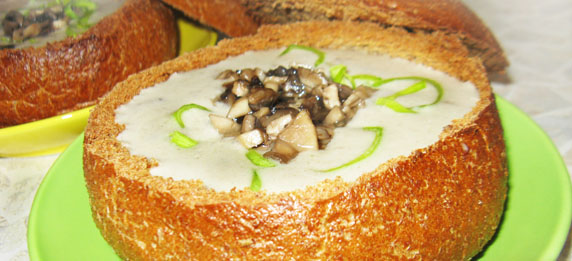
10 лучших рецептов крем-супов на каждый день
Рецепт по-шотландски
Питательный суп с необычным вкусом и изысканным ароматом. От такого сочетания придут...
118
0
0
70+ идей грядок на даче: красивые, «умные», «ленивые»
Секреты Татьяны Анисимовой
Татьяна Анисимова неоднократно получала звание лучшего агронома и раскрыла...
83
0
0
Полезные советы

Важно знать!
12 рецептов из яиц, быстрый завтрак, легкий ужин, вкусные и полезные блюда
Яичный рулет с сыром и зеленью
Замечательный рулет с приятным яично-сырным вкусом. Готовится он из минимального количества продуктов, но при этом они хорошо сочетаются друг с другом. Зелень можно использовать...
Читать далее
5 рецептов приготовления картошки в микроволновке на скорую руку
7 цветов радуги ахименеса
1 сотка земли
9 очаровательных треугольных домов, в которых хочется жить
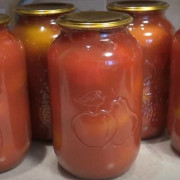
10 интересных рецептов с черноплодной рябиной
5 невероятно вкусных пирогов с курицей
18 разных стейков: чем они отличаются и как их правильно жарить
20 рецептов вкусных и полезных салатов со шпинатом
10 отличных рецептов тушеной капусты с картошкой


Лучшее

Важно знать!
8 способов прорастить семена перца быстро + правила посадки дома на рассаду
Причины ухудшения прорастания
Если семена показали плохие результаты при проверке на всхожесть или, наоборот, дружно взошли в домашних условиях, но не проросли при посеве в грунт, то следует разобраться...
Читать далее
15 рецептов с яблоками, которые вам точно пригодятся
8 признаков, как можно узнать что крольчиха беременна
4 простых способа почистить манго и подать его к столу
10 самых полезных орехов
8 комнатных цветов, которые по приметам приносят семейное счастье
33 лучших декоративных растения, которые растут возле дома
12 крутых десертов без выпечки
14 популярных сортов юкки с описанием и характеристиками
9 тёплых салатов, которые стоит приготовить
Новое


Обсуждаемое
Важно знать!
8 видов фосфорных удобрений: описание и применение
Назначение
Фосфорные удобрения нужны всем растениям, так как они способствуют их нормальному росту, развитию и плодоношению. Подкормка огородных культур является частью ухода, так как без этого грунт...
Читать далее
4 настоящих кавказских блюда из курицы от лезгина, который знает, как их готовить дома
15 способов, как избавиться от кротов на даче
50 фото разных видов и сортов хрена, ? как он выглядит, его полезные свойства и противопоказания
6 рецептов маринованных баклажанов к повседневному столу и на зиму
27 сортов низкорослых помидоров не требующих пасынкования
12 способов вкусно приготовить куриную печень в сметане
6 правил ухода за мальвой многолетней в открытом грунте
5 главных причин, почему именно облепиховый сок так полезен для здоровья
14 быстрых рецептов приготовления маринованных баклажанов с чесноком и зеленью на зиму
Популярное


Актуальное
Важно знать!
30 продуктов, которые помогут нарастить мышечную массу
С какого возраста можно давать детям
Многие мамы интересуются, с какого возраста можно детям давать нут. Продукт разрешается включать в рацион ребенка с 18 месяцев. Для малышей из зерен можно делать тертые...
Читать далее
8 лучших рецептов квашеной капусты быстрого приготовления вкусной и сочной
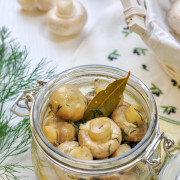
5 способов, как можно замораживать свежие шампиньоны
11 растений, которые можно принести из леса и посадить на своем участке
5 рецептов бездрожжевого теста на воде, молоке, кефире и сметане
20 интересных салатов с жареными шампиньонами
10 самых стойких садовых цветов, которые долго не вянут
20 супер-идей хранения вещей в шкафу о которых вы могли не знать!
10 принципов планирования кухни и 6 типов планировок
5 полезных источников белка во время линьки кур
Обновления
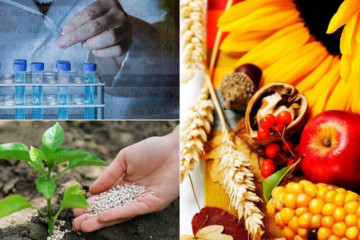 Удобрения и подкормки
Успешная агрохимия: секреты применения удобрений и защиты растений на огороде.
Удобрения и подкормки
Успешная агрохимия: секреты применения удобрений и защиты растений на огороде.
В мире сельского хозяйства, где каждый участок земли на огороде ценен как золото, правильное применение...
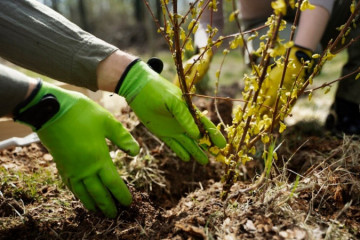 Удобрения и подкормки
Садоводство абрикосов: выбор, посадка и уход за саженцами для богатого урожая. Практические советы!
Удобрения и подкормки
Садоводство абрикосов: выбор, посадка и уход за саженцами для богатого урожая. Практические советы!
Среди многообразия фруктовых деревьев абрикос считается не только вкусным, но и довольно благодарным...
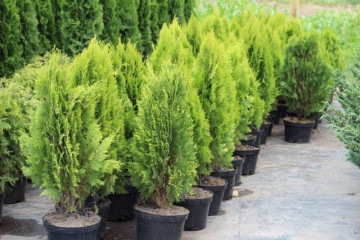 Растения и семена
Саженцы хвойных растений: горной сосны, пихты и многое другое
Растения и семена
Саженцы хвойных растений: горной сосны, пихты и многое другое
В мире садоводства и ландшафтного дизайна хвойные растения давно завоевали свою популярность, и саженцы...
Выбор правильного одеяла и подушек для сна – это ключевой аспект обеспечения комфортного и здорового...
 Статьи
Назначение и особенности балансировочного клапана
Статьи
Назначение и особенности балансировочного клапана
Как отбалансировать радиаторную сеть
Для балансировки простой схемы радиаторной сети подобные клапаны...
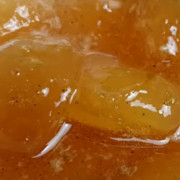
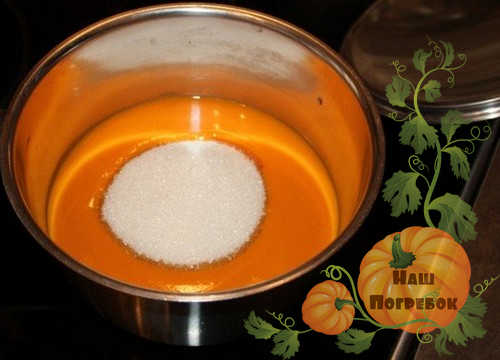 6 рецептов янтарного варенья из облепихи
Чем полезно облепиховое варенье для организма человека
Полезные вещества, присутствующие в варенье на...
 11 легких шагов к выращиванию курительного табака на огороде
Почему именно самокрутки?
Существует несколько основных преимуществ самодельных сигарет перед фабричными....
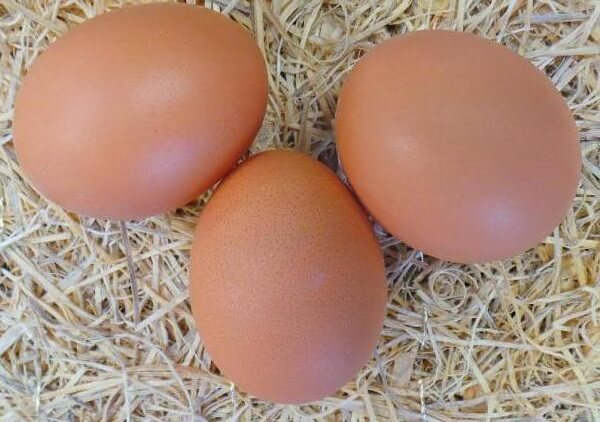 13 способов получить больше яиц от кур несушек
Неправильное содержание
Если курицы не несутся даже летом, когда они обязаны это делать, то для этого...
 15 многолетников, которые цветут все лето
Разновидности вьющихся растений
Кудрявые растения делятся на несколько категорий в зависимости от различных...
 Растения и семена
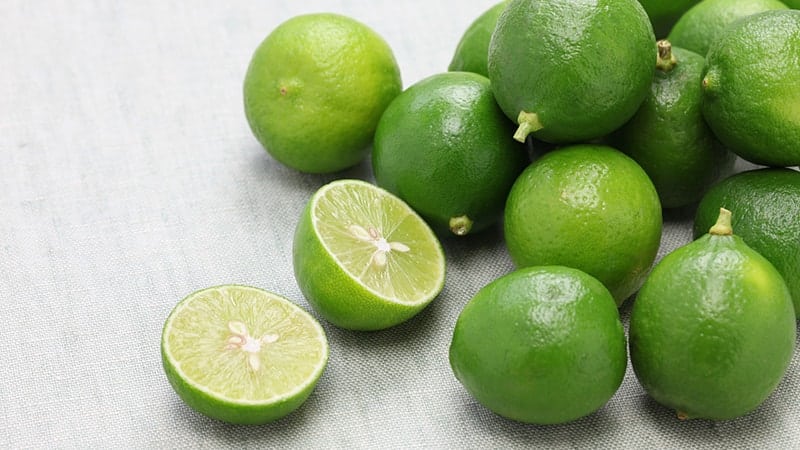
5 основных отличий лайма от лимона
Растения и семена
5 основных отличий лайма от лимона
В чем отличие
Мнение о том, что лайм – это недозревший лимон, является ошибочным. Несмотря на вкусовую...
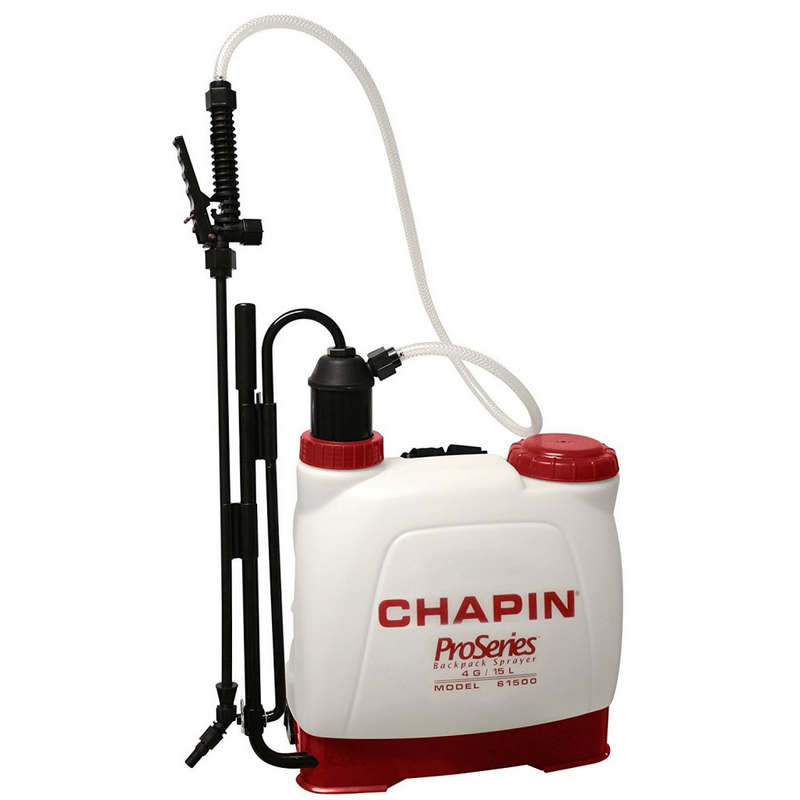 10 лучших опрыскивателей садовых
Особенности
Для начала немного познакомимся с аккумуляторными разбрызгивателями и их предназначением....
 Растения и семена
6 лучших съедобных лесных ягод с названиями
Растения и семена
6 лучших съедобных лесных ягод с названиями
Лесная ягода. Названия лесных ягод (черника, костяника, брусника, голубика, клюква)
18.09.2020 Кот...